You’ve probably noticed that Amazon asks you to review pretty much everything you order: I don’t usually. However, when they asked me to review this planner, I decided it was worth telling you about. I’ve used the exact same planner for a full year, you see, and have found it practically perfect (for me) in every way. Not kidding. So I’ll not just review the planner here, but tell you how I use it as well.
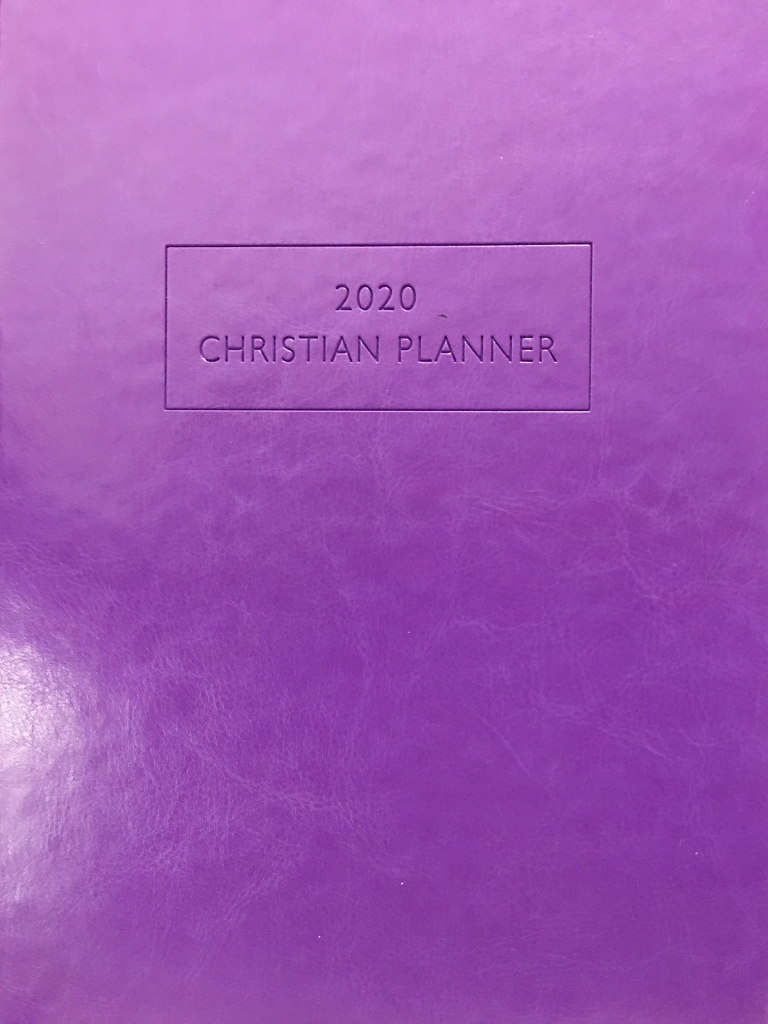
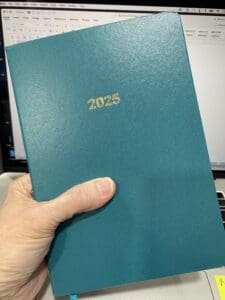
It’s by Paperage and comes as a hardcover book that measures 5 1/2″ x 8″ x 1/2″ plus a smidge more. It also comes in a variety of colors, which is perfect for me since I want a different color for every year. Yes, I’ll keep them as part of my business record.
As someone who already has a full-time job, but also blogs, writes books, and has a monthly newsletter, I need something more than the usual scheduling system. I require a planner I can keep as a record of my year. After trying several options, I found this one and I’m officially a customer as long as Paperage continues to make this planner.
Ready for the book tour?

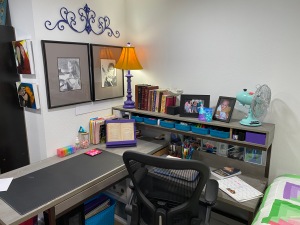
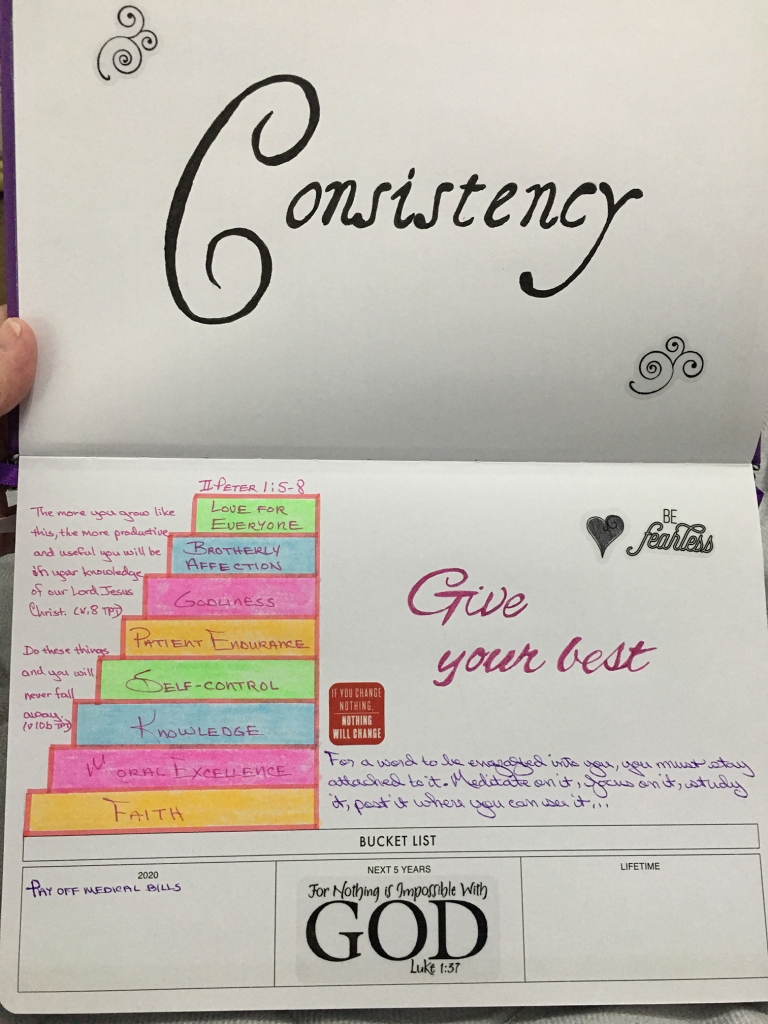
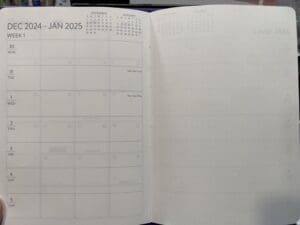
The first two pages, not surprisingly, are 2025 and 2026 calendars; you can guess what they look like, so onward we go. These next two pages are a God-send for me. As you can see, I’ve adapted them. First, I attached a tab at the top that says “Hours Worked.” The tab serves two purposes: It tells what the pages are about and, more importantly, makes it easy to find them. The other modification is boxes I drew into the Sunday lines so that I can keep track of my on-task hours daily, weekly, and monthly. (I write monthly totals at the bottom of each month’s column.)
Why do I track my hours? Because I need accountability. It’s easy, when I come home tired after a workday, to decided not to write, edit, or whatever. It’s easy, on a busy weekend, to do the same. To be totally honest, I look back at my hours from 2024 and am ashamed. While some of the blanks are a result of extended illness and other factors, others are sheer laziness and procrastination on my part. So yes, these two pages are an important motivator.

Next come the monthly calendars. I probably should have chosen a different month to photograph, because you can see my hand drawn blocks from the previous page. The paper being slightly transparent isn’t really a big deal for me. Since I write everything in pencil, I don’t have to worry about bleed through. If you’re a pen person, however, be aware that you might find it somewhat annoying.
This section is where I record my publishing schedule. When I’m on track, I have blog posts scheduled weeks and even months out. One glance at these pages and I know exactly where I stand. As you can tell, I’m not even remotely ahead at the moment. I’m hoping to change that during this holiday week. Maybe.
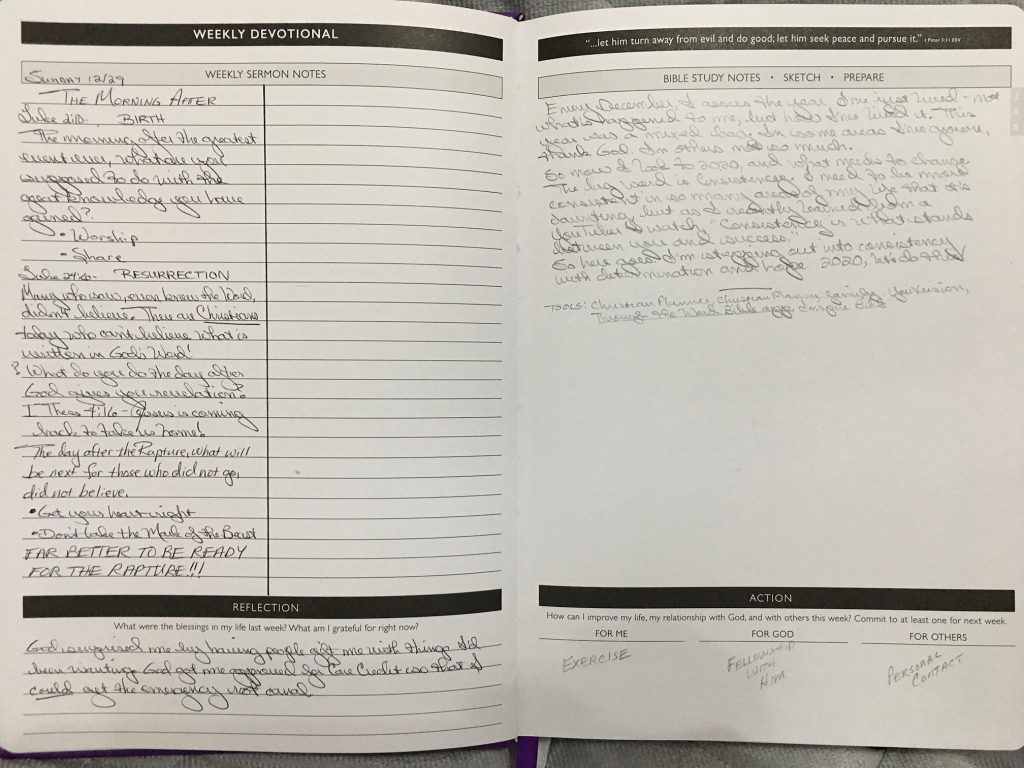
Here’s where the rubber meets the road. On the right, you see dotted paper. Through 2024, this side of the page served multiple purposes from listing “Must Do” items to recording random thoughts and ideas to holding overflow notes from the daily records to… I don’t even remember what all. It’s versatile, and I’m glad I have it.
On the left side, I record what I do each day. Be it researching, writing, editing, publishing, promoting, or something else, it gets written down here. This way I can remember when I did what and, frankly, it occasionally makes me feel better about myself when I’m feeling like a slouch and shouldn’t.
The planner ends with several more dotted pages that, again, can serve a variety of purposes. I used them in 2024 to help me plan out the devotional I’m writing, to track goals I’d set for the year, and more.
The book also has two ribbon bookmarks, which I use to mark the current month and week; a folder on the back cover that comes with tiny accent stickers and can hold all sorts of things; and an elastic band to keep the book shut.
Bottom Line: This is a quality planner that is small enough to toss into my backpack when I travel, versatile enough to serve in a variety of ways, sturdy enough to stand as a yearly record, and comes in enough colors to keep me happy. I give it five out of five stars, hearts, etc.
Celebrating Jesus!
Tammy C
You can purchase the 2025 Paperage planner on Amazon.